AuthRocket 2 is here. Read the announcement or try it now.

Enhancing SSO

January 28, 2016

Today we’re announcing the addition of two key features which make SSO with AuthRocket more powerful and versatile than ever.  They work with LoginRocket, our turnkey solution for logins and signups.

Login State Tracking

Until now, every time a user arrives at a LoginRocket login page, they have to login again.  LoginRocket won’t silently re-login a user who still has an unexpired session.  Our new login state tracking changes that.

With login state tracking, LoginRocket will remember the user’s login.  Each time the user arrives at the login page, LoginRocket will first check for an unexpired session.  If found, the user will automatically be logged back into the app without having to login again.

This feature is enabled with a single click.

Flexible Redirects

Every Connected App within LoginRocket has a Login Handler URL, where a user is redirected after a successful login.  Managing multiple destinations has required adding multiple Connected Apps, each with its own Login Handler.

This option remains available, but to it we’ve now added the ability to define multiple allowed redirect URIs for each Connected App.  Once configured, when sending a user to the login page, include a target redirect URI and, after the login is complete or an existing session is found, the user will be redirected there instead.

This works with a single app, but is especially powerful when used with multiple apps.  When paired with login state tracking, it allows your users to seamlessly jump between multiple apps without being prompted to re-login.

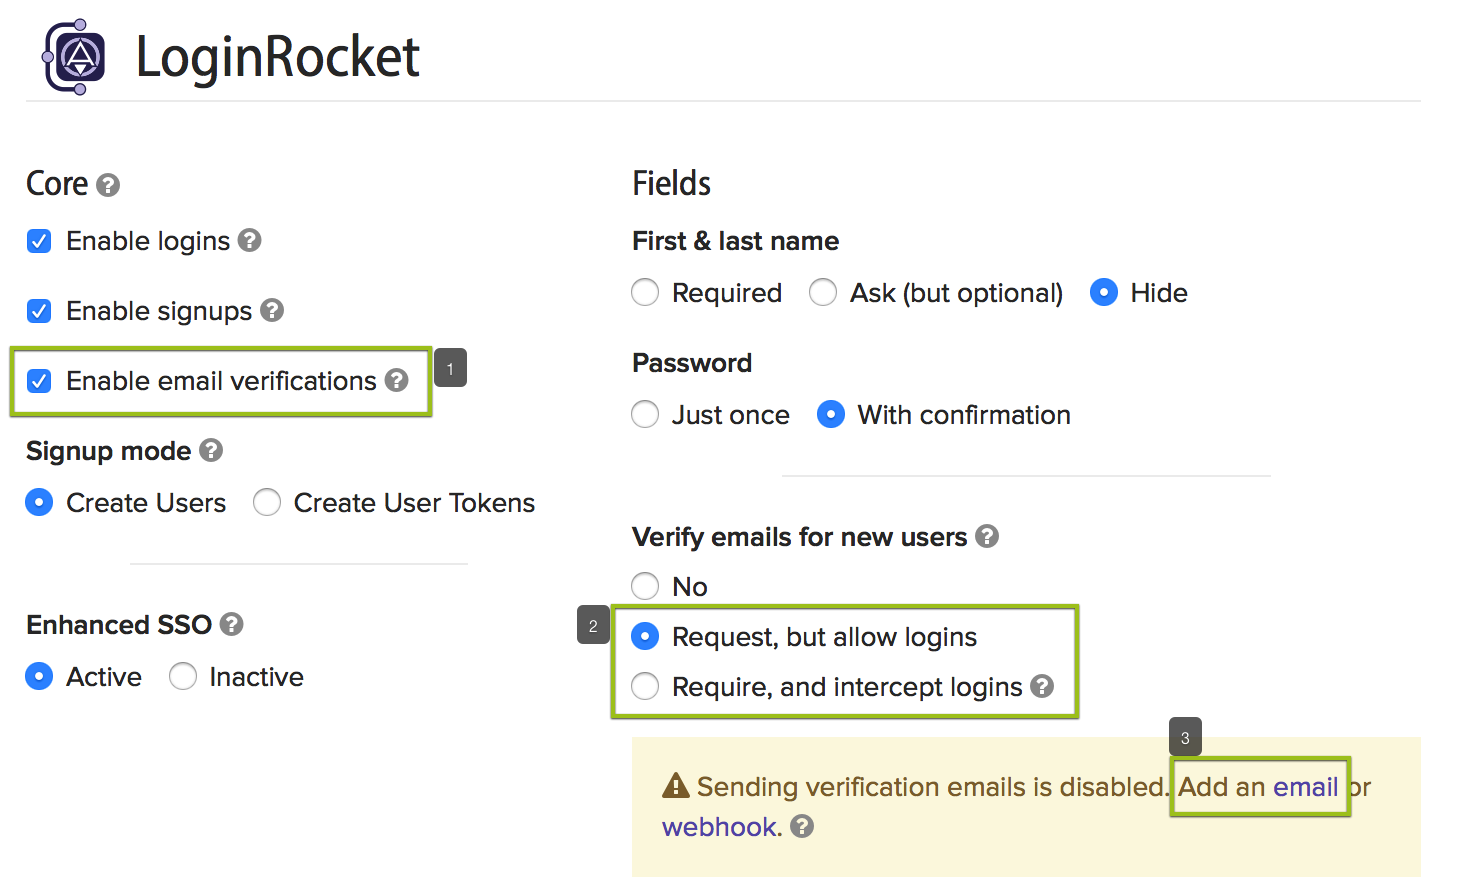
Redirect URIs and login state tracking are part of Enhanced SSO and available on selected plans.


A basic LoginRocket configuration doesn’t require any special handling of redirects and can be accomplished with as little as 10 lines of code.  Customizing your login flow only takes a few extra lines.  To learn more about customizing your login flow using redirects, visit LoginRocket Redirect Handling.

To learn more about these new features and the rest of SSO, visit docs/SSO.

As always, if you have questions or need help implementing SSO, please let us know.  We’d love to help.

Improving Logins

January 25, 2016

Usability is a high value for us.  That includes the usability of our own apps along with how we can help our customers improve their own user experience.

Today let’s talk a little bit about the latter.  Specifically, let’s explore what happens when a user tries to view a page that requires a login.

There are many ways an app can respond to a not-logged-in condition:

1.  It can simply show an error message.  Thankfully this is not particularly common, but it does still happen.  This is not recommended as it creates a dead-end for the user.

2.  The app can redirect the user to login, but returns the user to a main page instead of where they originally intended to go.

This is really common.  Unfortunately, it sends the user on a detour where they have to remember where they were and how to get back there.  The solution is to track where they were so they can be sent back.

3.  The app can redirect the user to login, and even return them to an original page.  However, if two browser tabs were open to different pages and the browser is reloaded, both tabs end up at the same page, not the distinct, original pages.

Often the original page tracking mentioned above is in the form of a session cookie.  The challenge here is with multiple windows or tabs.  As each tab reloads, it overwrites the original cookie.  The user ends up with multiple tabs at the same URL.

Tracking alone, even tracking only one page, helps a lot, as only a minority of users end up with multiple tabs.  However, for power users who work with multiple tabs or windows, it can be a real annoyance.

4.  The app can redirect the user to login, and return each tab to its original place.

Instead of tracking with a cookie, use a query parameter that’s maintained through the login process.  This allows each tab to independently be restored to its original location.


Introducing redir

We’ve added a new parameter to LoginRocket to make it easy to take your app from a level 1 or 2 experience all the way to level 4.  It’s simply called ‘redir’.

‘redir’ is designed to hold a path containing the original page the user wanted to view.  You can pass it as a query parameter to any LoginRocket page and upon successful login (or signup), it will be returned to your app alongside the login token.  Once your app verifies that login and establishes a new session, it can use redir to send the user back to where they wanted to be.

We use redir when you login to manage your AuthRocket account.  If you want to try it out, go to a non-dashboard page (such as viewing a user or a setting page) and then logout.  Log back in and you should be back where you started.


All LoginRocket instances can use redir.  Read more or let us know if you have any questions.

Email Verification

December 4, 2015

We’ve spent much of the past few months making behind-the-scenes improvements.  Today we get the chance to talk about something much more visible.

We’re excited to announce the availability of Email Verifications.

Many sites and apps want to verify a user’s email address. Instead of handling this yourself, now AuthRocket can take care of all the complications of email verification for you.  As is our style, it takes just a couple of clicks to enable.  You have the option for us to handle everything from tracking the verification state, to generating tokens and sending out emails, to blocking logins until verification is complete.

Email verifications + LoginRocket = One-click to awesome

If you’re using LoginRocket, our hosted logins and signups solution, email verifications are super easy to enable.

5661f0ebe4b060a252324a63
  1. Go to Settings -> LoginRocket, and ensure Enable Email Verifications is checked (it probably already is). This makes sure the LoginRocket pages that handle verification are enabled.
  2. Next, choose if you want to still allow logins when verifications are pending or not. Under Verify Emails for New Users, choose Request to still allow logins, or Require if verification must be complete prior to logging in. This instructs LoginRocket to initiate verification for all new signups as well as whether to allow logins for users whose email verification is still pending.
  3. You may be prompted to create an appropriate Email hook to send out the verification emails. Do that if asked.

That’s it!

If you need, you can also now check the user’s email verification state with the new attribute email_verification.

Existing users will not automatically be required or asked to verify. You can use the API or the management portal to initiate email verification for them too.

Email verification APIs

If you aren’t using LoginRocket, we’ve also added new API calls (both the AuthRocket API and the LoginRocket API to help you glue everything together. There are also two new events that are generated as part of the user’s lifecycle.

authrocket.js has also been updated.

For more details, see the API documentation or contact us.

Social Auth Going Live

October 28, 2015

Today we’re moving Social Auth from beta to general availability.  Numerous folks are already using social auth successfully and we’re excited to reach this milestone.  If you have already done the simple job of integrating with our customizable, hosted login platform, LoginRocket, then adding Social Auth is completely code-free.  You just sign up through your desired Social Auth provider and enable Social Auth in AuthRocket.  Social Auth is included with all AuthRocket plans.

Additionally, we are announcing support for authentication via already authorized access tokens.  This makes it possible to use native SDKs, like those for iOS or Android, without AuthRocket.  The new API support is compatible with SDKs that expose the access token, such as those from Facebook and Google.  We’ve been testing this successfully with a number of customers and are pleased to make it available to everyone.

If you have any questions about how to leverage AuthRocket’s social login features, don’t hesitate to contact us.

API Enhancements

July 17, 2015

We’ve made a number of enhancements to our API lately and wanted to take a minute to outline them for you.

First up, several API methods now support an expands parameter which will include extra data in the response. In many circumstances, this will improve your app’s performance by eliminating additional API calls that were previously required.

expands=memberships

expands=memberships is now honored for Get a user, Authenticate a user, Authenticate a key, Get an org, and Get a session. In all cases it will add membership data along with relevant users (Get an org) or orgs (the rest).

expands=custom

expands=custom will include custom attributes in responses to List users, List orgs, and List realms.

expands=token

expands=token, available on Get a session, will add a complete copy of the JWT token with the response. This is useful if for some reason you only have the session ID (instead of the entire token) or if the user’s data (name, memberships, etc) has changed and you want an updated token. It will leave the lifespan of the original token unchanged.

request

A couple of methods had support for ip and/or client attributes. This was very limited in scope and these old attributes are now deprecated. We’ve replaced them with a new request hash that contains both ip and client. More importantly, request is now available on nearly every API call that is capable of generating an event. The request hash will be attached to each generated event. Example:

POST /v1/users/text@example.com/authenticate
{ "password" : "secret",
  "request" : {
    "ip" : "192.2.0.1",
    "client" : "Firefox/38.0"
  }
}

LoginRocket logout

Logout has been added to the LoginRocket API.

CORS for LoginRocket

The LoginRocket API now supports CORS in addition to JSONP. CORS support is considered beta.

X-Request-ID

All API calls now return an X-Request-ID header which is unique to each request. It will look something like this:

X-Request-ID: rq_0vdbINw16QhITBp4iBhgX4

If you have a question about a specific API call, sending the request ID will make it much easier for us to help you debug the issue.